Building
Tools & workspace setup
By the end of this page you'll have a simple, tidy space set up that makes building models easier and safer.
You don't need a dedicated hobby room. You need a clear table, good light, and your tools within reach. Here's the setup I use.
- 01
Step 1
Clear a flat, well-lit space
A kitchen table works fine. You want enough room for the sprues to lie flat, plus space for glue, clippers and a knife within easy reach. A desk lamp (or even just daylight) makes mould lines and glue joins much easier to see.
Photo coming soonOverhead photo of my cleared workbench setup - 02
Step 2
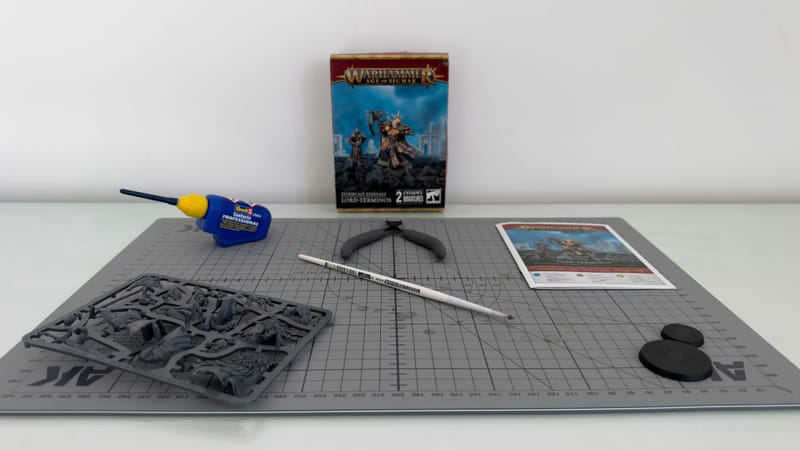
Lay out your tools
Clippers, glue, knife, a scrap of card to glue on (rather than the table), and a damp cloth for sticky fingers. Having everything in the same spot every time means less hunting around mid-build. Starter sets usually push together, but most standalone kits need plastic glue.
- 03
Step 3
Protect the surface — and your fingers
Plastic glue can mark some table finishes, and it's easy to get on your skin without noticing. A cutting mat or a bit of cardboard underneath, and keeping the cloth nearby, saves a lot of hassle.

Once your space is set up, head to the step-by-step assembly guides for your box.